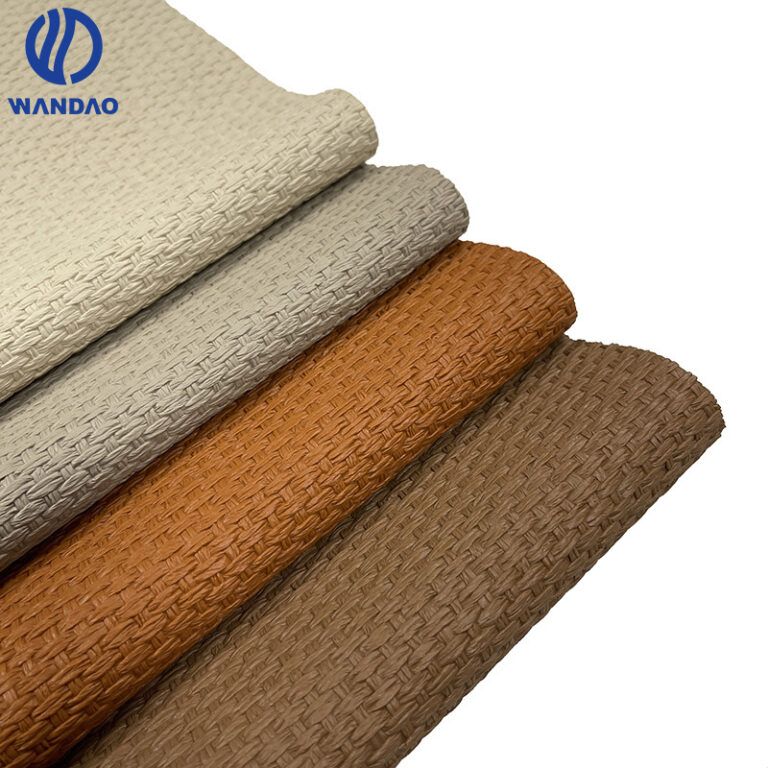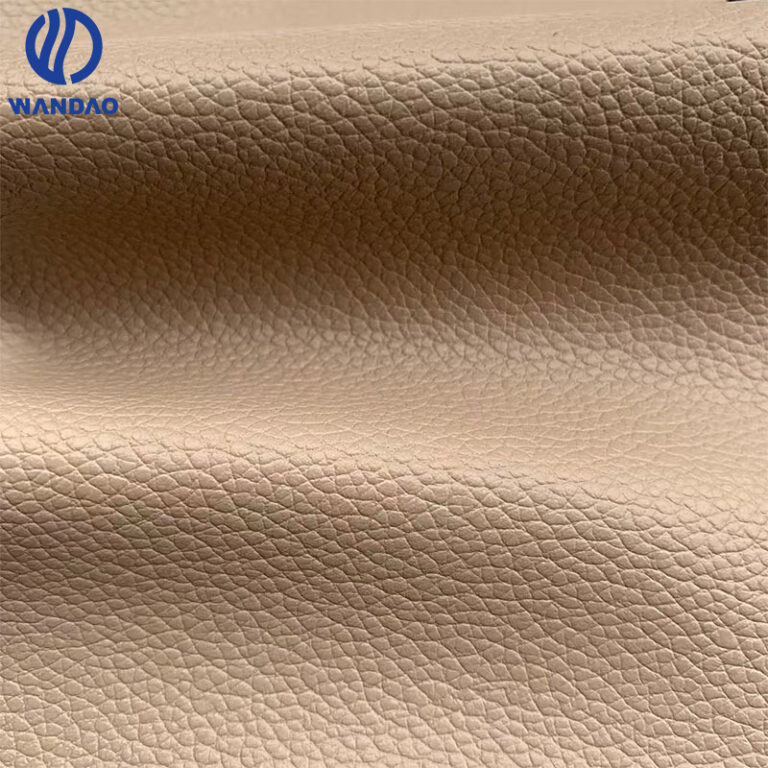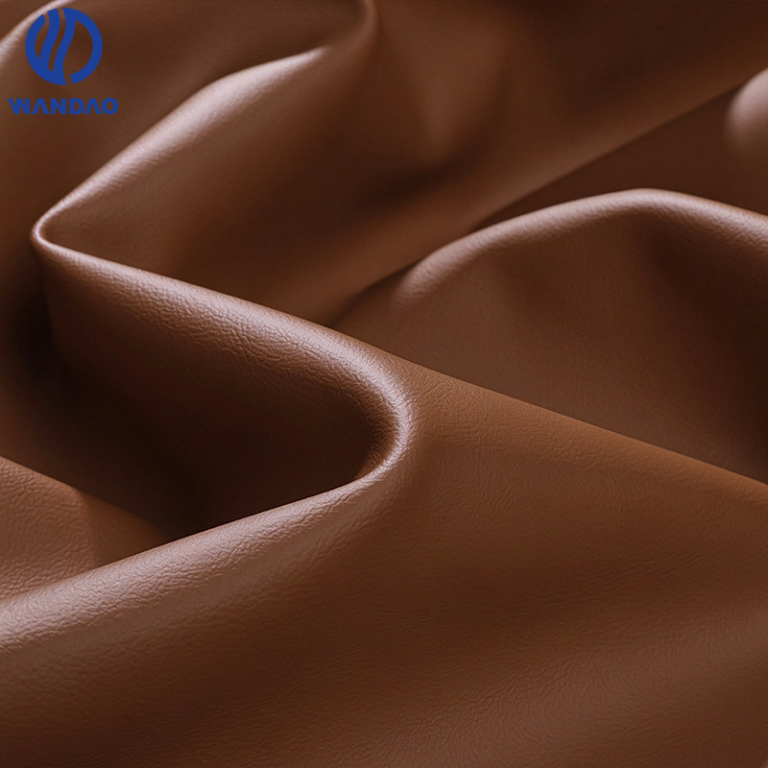
PU leather fold marks should be investigated at the production step where they first appear. A pale line at a turned bag edge is an observation, not proof of cracking or hydrolysis. Keep an unprocessed reference, compare the material after each operation, and distinguish an appearance change from a visible surface break or layer separation. The purchasing decision is whether the selected material and edge construction meet the agreed requirements together, not whether a loose swatch looks attractive.
Our PU leather for bag manufacturing page provides the starting point for matching materials to panels, flaps and other components. This guide focuses on a narrower task: deciding what to investigate when the turned edge of a prototype looks different from the approved flat sample.
Describe PU leather fold marks before assigning a cause
Ask the sample room to describe what is visible and exactly where. “White line on the outside of the flap corner” is more useful than “bad PU.” Record whether the mark follows the fold, stitching, an adhesive boundary or a change in the prepared edge. Include a wider photograph showing its position on the component as well as a close view.
Use consistent light and viewing conditions when comparing specimens. If the appearance changes with the viewing angle, record that observation rather than selecting only the photograph that makes the sample look best. If the line remains after the agreed rest period, record that too. Neither observation, on its own, identifies a chemical mechanism.
| Observation to record | What remains unresolved | Next review |
|---|---|---|
| Pale band or altered grain at the fold | Whether there is a physical break | Compare the reference and inspect the surface |
| Visible fissure in the surface | Its depth, extent and first appearance | Examine retained production-stage samples |
| Lifted surface or an apparent gap between layers | Which interface has separated | Supplier or laboratory examination |
| Mark confined to the stitch line | Whether it existed before sewing | Compare pre-sewn and sewn specimens |
The distinction is not merely wording. ACT’s coated-fabric physical-property guidance lists whitening, cracking and delamination separately in its visual flex assessment. That document concerns indoor upholstery, so its acceptance limits should not be copied into a handbag specification. Here it supports keeping observations separate, not declaring a bag edge compliant.
Preserve the evidence before trying a cosmetic fix
Set aside the affected prototype and unused material from the same identified sample or lot. Keep its original processing record. If the team wants to try a correction, use another specimen and label it as a trial. Otherwise, a successful-looking adjustment may erase the sequence you need to understand.
Do not begin with an unapproved heat treatment, solvent wipe or conditioning product. This guide establishes no safe temperature, chemical or application time for the construction. Obtain a material- and process-specific recommendation before any such trial, and keep the untreated sample available for comparison.
Also avoid repeatedly manipulating the only failed edge to demonstrate the problem. If further flexing or destructive examination is needed, agree how it will be performed and recorded. Distinguish damage observed on receipt from changes introduced during the investigation.
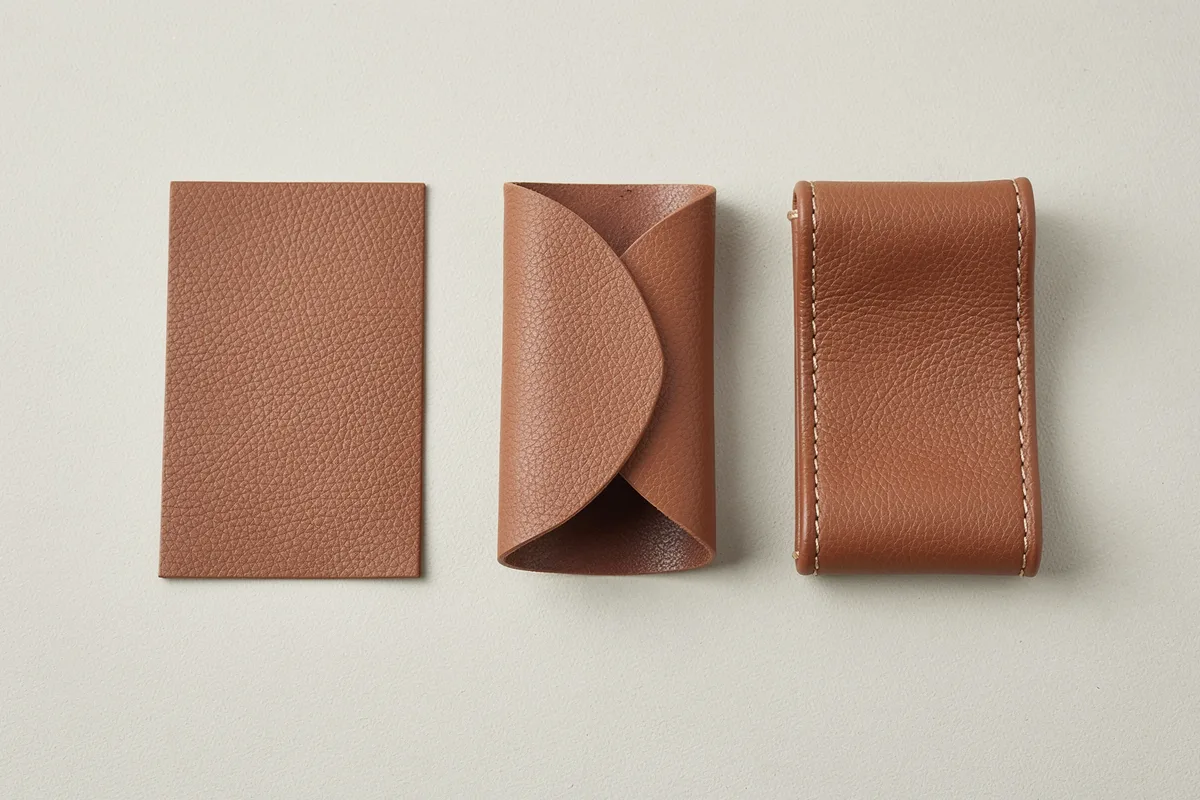
Locate the first step that changes the appearance
Draw a short operation list for the actual edge. Some designs are cut, prepared, folded, bonded and sewn; others use a different order or omit an operation. Follow the factory’s real route rather than forcing the work into a generic sequence.
For a repeat trial, retain matched pieces after the relevant operations. Use the same material identity and record orientation. A proposed sequence might retain an untouched flat piece, a prepared edge, an unbonded folded piece and the finished sewn edge. If bonding happens before folding, change the sequence accordingly.
Compare each specimen with the preceding stage. The first stage where a mark becomes visible tells you where to focus the next comparison. It does not prove that the operation alone is defective: a material characteristic may become apparent only when that operation is applied.
For example, suppose a pale line is visible on the unbonded fold, before the first adhesive application. That sequence makes it unreasonable to blame that later adhesive application for creating the initial line. Conversely, if the mark is first recorded after bonding, investigate that stage without assuming the adhesive chemistry is already proven responsible. These are hypothetical reasoning examples, not customer test results.
Review the edge geometry and full material stack
Bring the drawing and sample to the same discussion. Identify the turned allowance, corner shape, prepared edge and any lining or reinforcement included in the fold. A nominal sheet thickness does not describe all the material present at a finished corner.
The ISO 2286-3:2016 thickness method measures coated fabrics under a specified pressure. Its scope is a useful reminder to ask how a supplier’s thickness figure was obtained. Do not compare a reported sheet value with a casually compressed finished edge as though both measurements described the same thing.
As an engineering hypothesis, a change in fold geometry, edge preparation or added layers may alter the appearance at the bend. Have the maker investigate the actual detail. Do not prescribe “thicker,” “thinner” or “skive more” as a universal correction: each changes the construction being qualified.
Include the most relevant curved detail, not only an easy straight strip. If the complaint concerns a flap corner, a straight-edge success leaves that corner unresolved. Equally, do not add every possible geometry to a small trial. Select the details needed to answer the actual problem and explain that selection in the record.
For background on candidate constructions, see the PU leather material overview. The objective here is to qualify a specific edge route, not rank every type of PU from its thickness or hand feel.
Change one factor in the next comparison
Once the first visible change is localized, write a question for the next trial. Examples include: does the mark recur with the same material and a revised corner detail, or does another identified material show the same observation under the documented process?
Keep the rest of the recorded conditions stable as far as practicable. If material, adhesive, edge preparation and sewing all change together, an improved sample does not reveal which change mattered. It may still be a useful new candidate, but label it as a new construction rather than a confirmed root-cause solution.
Record the operator, material identity, drawing revision and changed factor alongside photographs. Where the first result looks promising, repeat the relevant comparison before closing the issue. A single favorable piece should not silently replace the original requirement.
Use the maker’s qualified settings rather than values taken from an unrelated article. This is a troubleshooting framework, not a sewing-machine, skiving-machine or adhesive setup instruction. If the supplier cannot reproduce the agreed edge in a controlled trial, resolve that gap before placing a bulk order.
Ask for the test that answers the remaining question
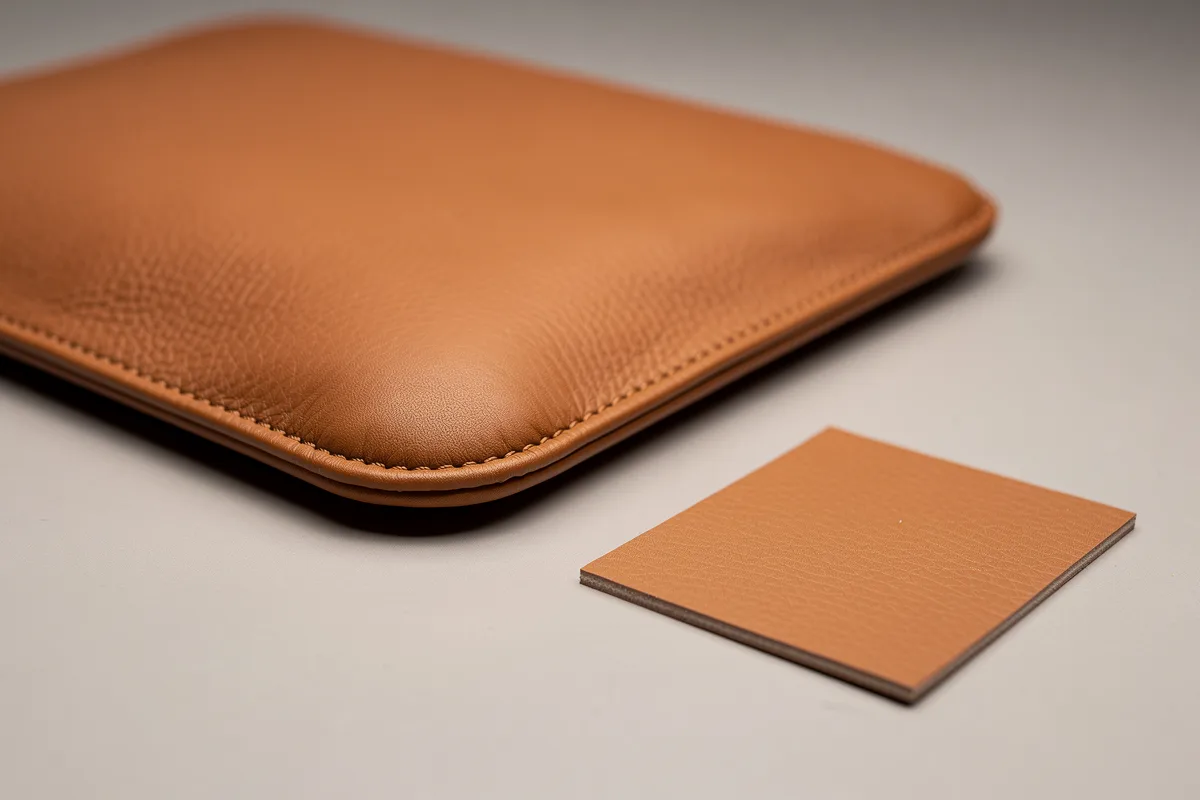
A material test can support the investigation, but first state what is still unknown. Does the concern involve repeated flexing of the coated sheet, adhesion within that sheet, or the appearance of the assembled edge? Those are not interchangeable requests.
ISO 32100:2018 evaluates flex resistance of eligible coated fabrics in a folded condition, using specimen appearance after the stated test endpoint. Applicability depends on whether the product can be clamped and flexed as required. Ask the laboratory to confirm suitability rather than assuming every bulky finished edge fits the method.
ISO 7854:1995 provides different methods for assessing coated-fabric damage from repeated flexing. A report should identify the method used. Do not compare cycle counts detached from their methods or convert them directly into years of bag use.
If the issue is separation within the coated material, discuss ISO 2411:2024 coating adhesion with the laboratory. Keep coating adhesion separate from the bond created later when the maker glues a turned edge. The report needs to identify what was tested and, where assessed, where separation occurred.
Specify acceptance criteria with the buyer and technical team before testing. Neither a method name nor a favorable result from another colorway approves this edge automatically. These references describe test scopes; they are not claims that the proposed Wandaoleather construction has passed them.
Close the issue with a component-level approval
The final review should identify the acceptable edge specimen, drawing revision and material code together. State the visual requirement, relevant test evidence and any unresolved limitation. If the sample is acceptable only after a process change, that change belongs in the production handover.
Keep appearance acceptance distinct from strength or durability evidence. A visible crease may be outside the buyer’s appearance limit even when no surface break has been confirmed. Conversely, a pleasing photograph is not proof that an adhesion concern has been resolved. Record the decision against the requirement that was actually assessed.
If a substitute construction is proposed, compare it with the accepted reference through the same relevant edge route. The bag material selection page can help frame alternative material discussions, but the replacement still needs its own evidence for the intended component.
Send Wandaoleather the bag-edge drawing, material reference and stage photographs to discuss candidate samples. Include where the mark first appears and what the buyer needs to approve. That brief is more actionable than a request for a PU leather that “never creases.”
Frequently Asked Questions
Does a white line at a PU leather fold always mean cracking?
No. Record the appearance separately from any confirmed surface break or layer separation. A photograph alone should not decide the failure mechanism; compare retained samples and obtain examination when needed.
Can a fold mark prove that the material has hydrolyzed?
Not by itself. A pale line does not establish a chemical cause. Preserve the sample and processing history, then ask the supplier or laboratory what investigation is appropriate.
Should a thicker PU leather solve a turned-edge problem?
Do not assume so. Review the complete edge, including preparation, lining, reinforcement and geometry. Evaluate a proposed thickness change in the actual component rather than approving it from a flat swatch.
Can a coating-adhesion result approve the glued bag edge?
Not automatically. A coating-adhesion result concerns the identified coated material and test specimen. The adhesive bond and construction introduced during edge assembly require their own appropriate review.
Does a high flex-cycle count predict the bag’s service life?
No direct life claim should be made from that number alone. Keep the result tied to the specified method, specimen and endpoint, and assess the finished component against the buyer’s requirements.
What should accompany a fold-mark sample sent to a supplier?
Include unused matching material, the affected edge, stage samples if available, material and lot identity, the drawing revision and the operation sequence. Show where the mark first became visible and state the acceptance question.